Since my friends husband is into motorcycles and she is having a boy I decided to try my hand at a motorcycle diaper cake instead of the traditional tiered one. This is not the first diaper cake I have made but the first time I have attempted a motorcycle. It was really quite simple to create so I will tell you how it is done.
First like I said you need the supplies and you can purchase as much or as little as you like depending on how much you want to spend. This particular cake cost about $150 by the time it was complete however that is split between 3 people. A lot of what went into my cake would be optional if you wanted to spend less money. I also purchased my bibs, socks and stuffed animal at the Harley Davidson store which cost me $50 just for those brand name items. I am sure that you could buy a lot of these items at a dollar store if needed. It may be nice to go cheaper on the cake and then add a gift certificate as the licence plate. Here on some instructions on how I made my diaper cake.


INSTRUCTIONS
The cake includes: 1 package of diapers (84pack), 4 receiving blankets, 1 package of baby wipes*, a sippy cup or bottle, 2 pacifiers*, 2 bibs, 1 crib sheet (or another blanket), 5 washcloths*, three pack of teething rings*, 1 pair of baby socks, baby rattles*, 2 bottle brushes*, and a stuffed animal.You will need a couple big rubber-bands, some smaller rubber bands (kids clear hair elastics work well) safety pins, tape, an 8 inch cake pan and some ribbon.
ALL ITEMS WITH A * ARE OPTIONAL
Start by arranging the diapers in the 8 inch pan to form a round wheel. I have seen this done 2 ways one by keeping the diapers flat which I did and one by rolling each one. I prefer to keep them flat for future use reasons. Secure the diapers with a rubber band and remove from pan. I then weaved a long piece of yarn to make spokes on the wheel, this is optional. Wrap the wheel in a receiving blanket and pin. I then wrapped a ribbon around my wheel and taped it on the bottom. Repeat for second wheel.
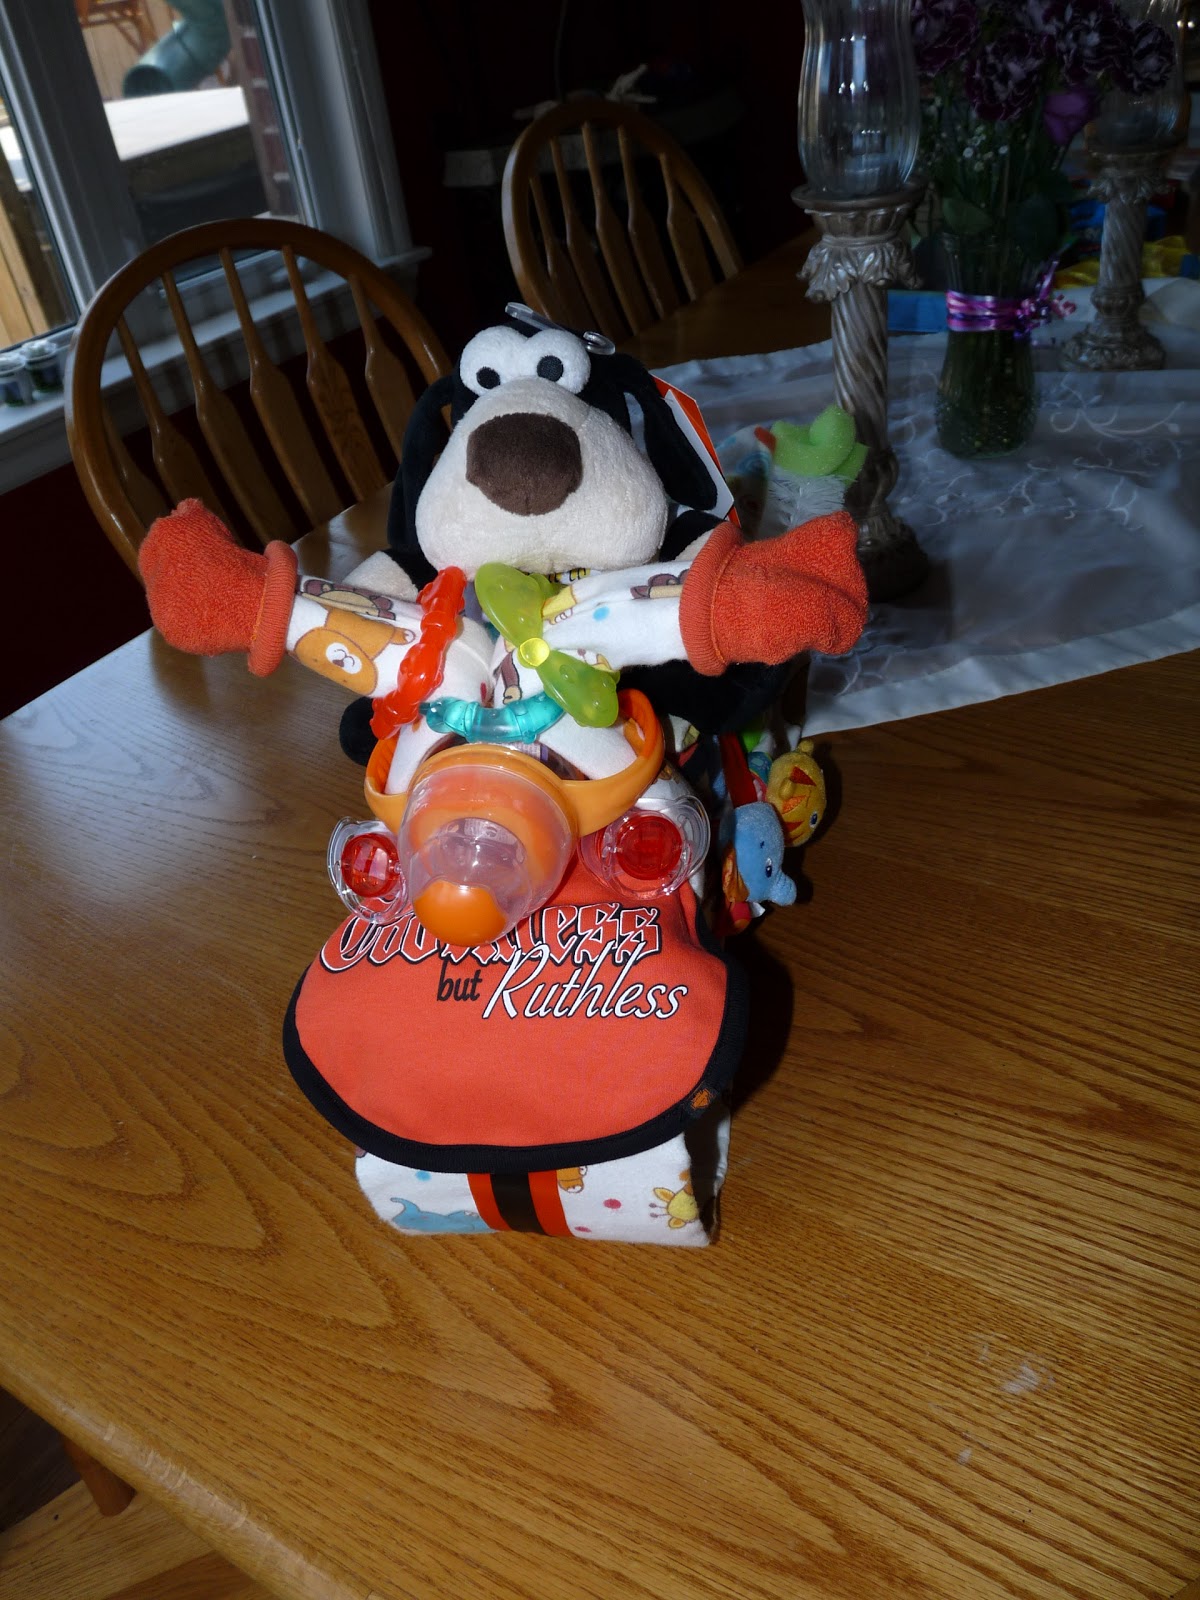
Once your wheels are done lay a bib over wheel 1, the front ( to make a fender) and then roll or fold a receiving blanket length wise and insert through the center hole of wheel bring ends together around the sippy cup or bib (which becomes the headlight) and secure with a rubber band. I then put the teething rings around the blanket for looks a cheaper option would be to use ribbon instead. Put the baby socks on the ends of the blanket to make the handle bars. I inserted the 2 pacifiers at the sides of the sippy cup to look like blinker lights also optional).
Insert a second blanket into the front wheel and use it to attach the two wheels together. I fed this blanket through a few rattles to help keep the blankets rolled and for looks. You could tie bows or ribbon instead. Secure with a safety pin. Lay a second bib over the back wheel. I inserted 2 baby bottle brushes through the receiving blanket securing the two wheels together for a exhaust pipe look (again optional).
I then inserted a package of baby wipes between the two wheel which I hand covered in wash clothes and ribbon. This is also optional you can just pull the two wheels tighter together and skip this step.
fold the last blanket or crib sheet to form a seat area and lay on top of the bike. Put stuffed animal on your completed motorcycle.
There are several online video tutorials on you tube if you need the visual. Thanks for looking.
No comments:
Post a Comment